Last updated on March 26th, 2024
iPad is one of the most popular gadgets that used by many people for watching movie, reading news, capturing favourite games/sports, and more. Choosing the reliable equipment and software is challenging in order to record and share your iPad screen. Often, we refer this as iPad Screen Capture Video or Recorder.
iPad screen capture video makes excellent flipped classroom resources, training materials, product and software demonstrations and website resources, amongst many other things.
However, given that the quality of the recorded screen capture video is usually important – particularly if you want to reuse the recording in different ways in the future – it is advisable to acquire equipment and software that produces the best possible quality end product.
How to Record the Screen on Your iPad (Using Built-in Feature)?
With the released iOS11 by Apple, the users of iPhone, iPad, and iPod can easily record their screen with their build-in recording function. Of course the newer iOS versions also support the screen capture feature if you are enabling the feature.
How to enable the feature?
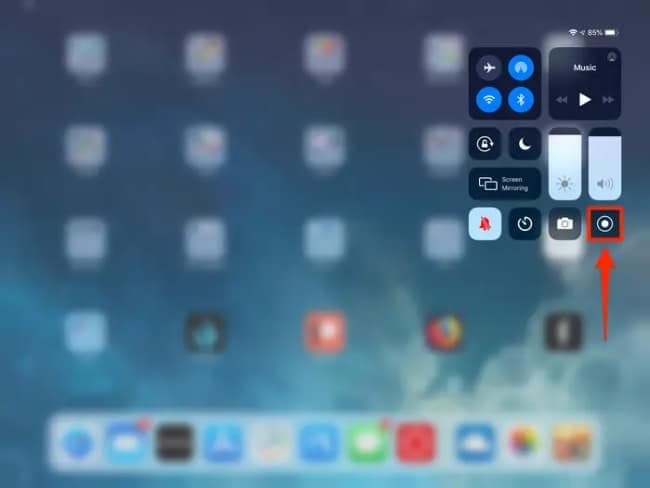
You can just enabling the screen recording feature on the iPad that running iOS14 or later by following the simple steps below:
- Start the Settings app and head over to “Control Center”.
- In the next screen, tap on “More Controls“.
- Tap the plus icon next to Screen Recording.
The steps above added the screen recording functionality to your device Control Center and now you can use it to capture all the action on your screen. Just tap the record button and you are good to go.
In case you are using the older models (before iOS 11) of your Apple devices, then you can use one of the ways below to do the screen recordings.
iPad Screen Capture – The Software and Equipment Needed
Your choices of equipment and software for iPad screen recording will need to:
- Record the screen capture video
- Capture decent quality sound
- Edit your video and sound together into a polished final product
In my experience the best solution for recording your iPad screen capture video involves a computer (Windows or Mac) to record and edit the video on.
While it is possible to record and edit iPad screen recordings directly on an iPad, the solutions to do so involve security risks, a lot of free iPad memory and take additional time to produce, edit and share.
As most people already have a computer to do this on, the biggest additional expense to plan for is the iPad screen recorder software or apps required to accomplish the task of recording and editing.
Choice #1: Recording the iPad Screen Capture Video
The best way to do this is to use software to mirror (display) the contents of your iPad screen onto a computer monitor, while software on the computer records what is going on.
The main advantages of doing things this way is the reliability and simplicity of the process, and the incredible quality that it is possible to achieve. This both saves you time, is very easy to learn and produces a flawless resulting iPad video recording.
Using Software or Apps To Mirror Your iPad Display
There are several options to mirror your iPad screen on your computer, all of which are reasonably cheap – with educational discounts if this is the industry you work in. The software is installed onto your computer, and in my experience the best solutions are:
i.) ApowerMirror Software
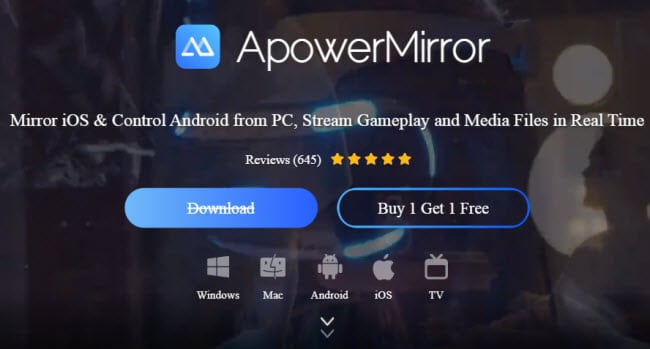
ApowerMirror is a solution designed for many usages, which enables mirroring of your iPad or phone screen onto your larger computer screen, but adds a whole load of other features which can be useful for sharing files or photos, stream videos or other media – to find out more about these additional features click here.
Here are the advantages of having this software:
- Support mirroring iOS and Android devices to PC or TV via WiFi, USB or cast phone
- Allow mirroring up to 4 devices to PC at the same time (simultaneously)
- High-quality and real-time audio & video mirroring, i.e., you can play mobile games on PC without emulators
- Added-value functions: Take screenshots, record screen, draw on whiteboard,
Official page: https://www.apowersoft.com/phone-mirror
ii.) TeamViewer (App or Software)
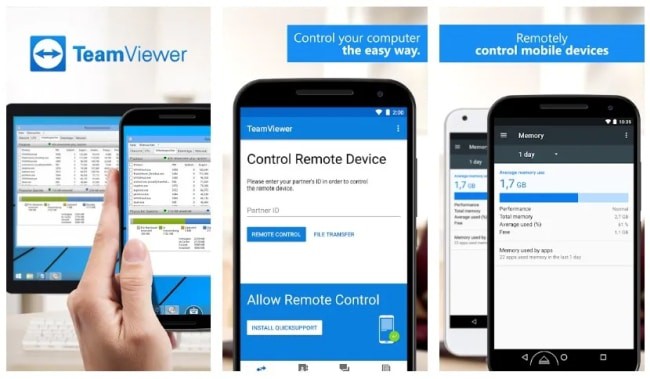


This versatile app works on a Windows, Mac or Linux, is also very reliable and produces a fantastic quality of streamed video to record. You can use the software for various tasks like desktop sharing, online conferences or meetings, and remote control.
One of the great features to highlight is that the software support multi-monitors at once. So, you can connect your portable devices like iPhone or iPad to several computer screens on your desktop or laptop.
Note: The TeamViewer software is also available on desktop computer.
iii.) Microsoft Remote Desktop App
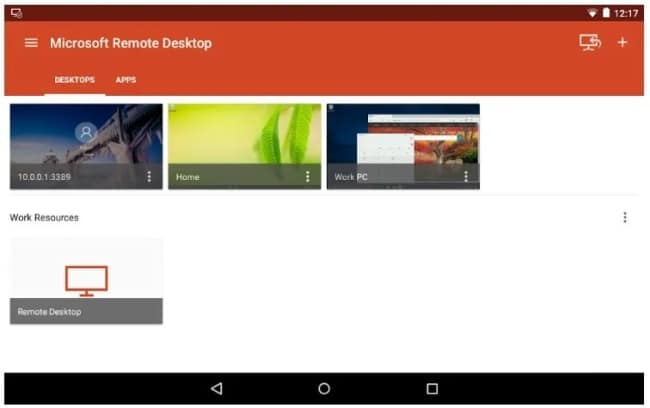


This remote desktop app from Microsoft allows you to control another computer screen from a remote area like iPad. In reality, it build a connection between your computer (laptop) and smartphone or gadget.
The Microsoft Remote Desktop uses 128-bit encryption and RC4 encryption algorithm to ensure secure connection and sharing of your sensitive data or files, clipboard sharing and supporting audio & video streaming too.
Using Software to Record The iPad Screen Capture Video Itself
Your choice of software to record your iPad screen capture should be informed by the following things:
- Reliability
- Quality of recording
- Output/export options
- Easy-to-use video editing capabilities
While there are free solutions available – such as Bandicam, jing, or OBS studio (and features of ApowerMirror mirroring software itself) – that allows you to record the contents of your computer screen, consider this first – how valuable is the time you spend doing these recordings?
In my experience, all of these free solutions have trade-offs and involve sometimes significant compromises:
– the quality of the recording produced,
– the lack of a way to export this in a format that allows you to share it where you want to,
– the ease with which the recording can be edited without using additional software.
Some of the other apparently free solutions to do this available online install a whole host of other browser plugins and advertising software – some of which have serious security implications.
It is for these reasons that despite being able to acquire this software, I don’t use it.
The best solution for iPad screen capture which I have ever used, and the one chosen by the majority of professionals who make a living from screen recording production, is either Camtasia (high-price) or Movavi Screen Recorder (budget-friendly).
I see it like this – as I am going to be making screen recordings for the foreseeable future, and want to use these recordings for a variety of purposes over a long time period – I can justify the cost of the industry-leading software solution for the job.
Since making this decision several years ago, I have lost count of the number of times I have thanked myself for making this decision – and Camtasia has paid for themselves many times over the years I have used them.
On the other hand, the Movavi screen recorder is more suitable for the beginner that doesn’t have much experience in capturing or editing videos. The software comes with many handy features that you can use for a cheaper price.
They are not difficult to use, produce the best quality recording possible, and most of all – allows you to edit the recordings so ridiculously. To get a free trial for Movavi screen recorder to try this software out for yourself, click here.
Also read: 7 Best Video Capture Software Reviews
Choice #2: Capturing Decent Quality Sound
Viewers of video online will often tolerate substandard quality video images much more easily than they will bad quality sound. This is a serious consideration when choosing a sound capture solution if your use case requires narration along with your video recording.
Please note that in order to capture the sound of the software from the iPad itself, or if you want to include some background music in your screen capture, you will not need the equipment mentioned here.
I use the headphones/microphones below for recording explanations, narrations, and voice over the top of the iPad screen recording itself.
As I have used a wide variety of microphones to capture sound over many years, these are the best I have tried:

This is the recognized gold standard for capturing fantastic quality sound – although spending this amount is unnecessary if all you want to do is narrate a screen capture with commentary.
Indeed, I find for my purposes when recording software tutorials, that the microphone tends to pick up far too much of the sound in the room – such as keyboard presses and mouse clicks.
So I use the Blue Yeti X when recording a discussion or interview, as the ability to change the settings to capture sound in a particular direction produces some wonderful results, but for everyday purposes, the solution below is more than good enough.
Don’t be fooled by the price of the headsets, the quality of sound it picks up is excellent, and although a little flimsy in design it more than makes up for this with the results it produces.
Also, a warning to those considering noise-canceling headphone/microphone combinations – the explanation and sales pitch in the product description sound like exactly what you need:
“Noise Cancelling Microphone: Automatically picks up your voice with remarkable clarity”
My experience with this kind of microphone is that it makes the voice sound unnatural in your recordings by removing bass frequencies from it. These are time-consuming and complex to put back into the sound recording and affect the quality of the resulting sound.
Choice #3: Editing Your Video and Sound
The software you choose for editing will depend on what you have decided to use for recording the video in the first place. But let’s treat this as a separate problem to explain why my recommended solution of Camtasia software for recording and editing, is the best available.
Many computers have video editing software inbuilt (Movie Maker on Windows and iMovie on Mac) and both pieces of software will work fine for editing your iPad screen capture recordings. You can see some of the paid video editing software here.
However, as I make so many of them and spend so much time doing so, I am interested primarily in a workflow that minimizes time and frustration. In short, I am looking for the simplest way to edit the video.
One of the most time-consuming parts of producing a screen capture is the recording process itself. In the past, I have written scripts to read/perform when recording and got mixed results from doing so.
At times, no matter how much I tried to perform these naturally it really did sound like I was reading – which I found was distracting/off-putting to my audience. The advantage of scripting is that you can plan to say everything, however, I find I can accomplish this and get a more natural-sounding end result by working differently.
Instead, I tend to write a list of actions I want to perform down, so I know what the video itself is going to look like, and then go through each mini-section and make quick notes about what I want to say in this piece.
When recording I use the notes as a guide and ‘wing it’ (improvise) a little when recording to get a natural, conversation-like delivery. What results is often a bit of a mess at first as I learn the best way to explain what I am saying – while recording constantly.
I move on to the next mini-section when I feel I have one take which worked – knowing that with Camtasia I can easily edit out the bits that didn’t work.
Your own chosen process for doing so may differ from mine, and if you plan to use a written script good luck with this approach – it can produce some great results. But I feel strongly that whatever software you choose should allow you to take some pressure off you when recording, by providing an easy way to edit together the best bits of your recordings.
If you don’t have this editing capability then you have to perform a perfect take when recording, which I have found can be extremely frustrating and difficult. The free software available for screen recordings often doesn’t have editing capability – and the quality of the recordings publish make with them, suffers as a result.
If you choose Camtasia or Movavi Screen Recorder as your recording solution, then you have the easiest and quickest video editing solution for screen capture already, without needing to invest time and money in purchasing and then learning new software to do the job.